
For several years, I’d been coming across recipes that called for preserved lemons. I’d never had them, and wasn’t sure where to find them, but the recipes often intrigued me with combinations of foods I knew I liked. Sometimes I would make something similar to the recipe and just substitute freshly squeezed lemon juice. I’m usually a make-do-with-whatever-is-on-hand cook.
But the recipes kept showing up calling for preserved lemons. I didn’t find any at the international groceries. I looked for instructions on making them and didn’t find instructions. Curious…
Finally, a few weeks ago, I came across a recipe in an article on cooking with lemons!
First I needed 12 lemons. These are just standard lemons you can find in any market. I would like to try Meyer Lemons next time just to see which I like better.
I washed them in warm water with a little bit of bio-degradable dish soap, then rinsed them carefully. Eco-friendly or not, I don’t like the taste of soap!
I trimmed about 1/4 inch from both ends of each lemon. The ends went into the compost bucket I keep on my kitchen counter. Maybe the ends didn’t need to be discarded, but I was following instructions. Next time I’ll keep them in with the rest of the mixture.
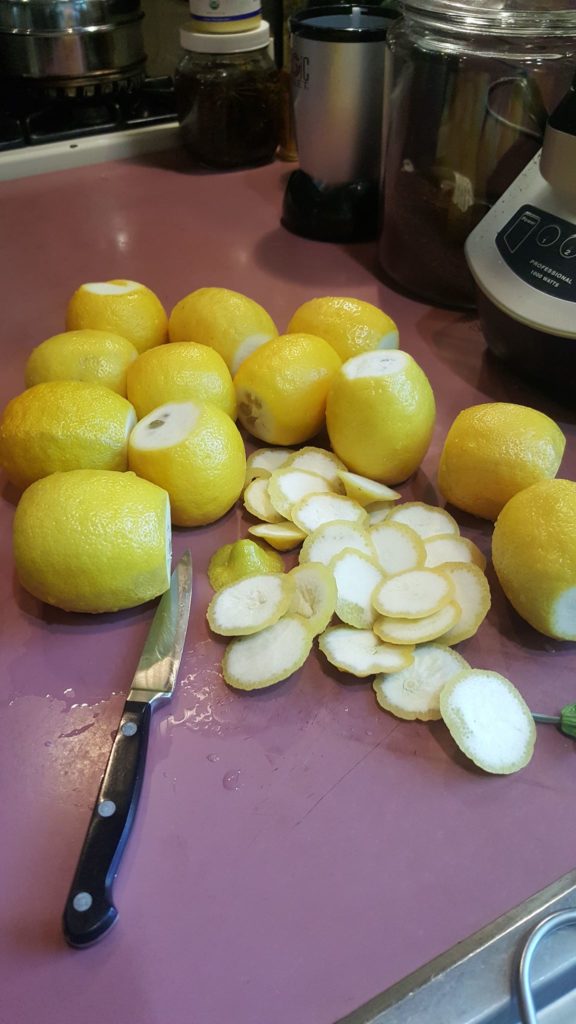
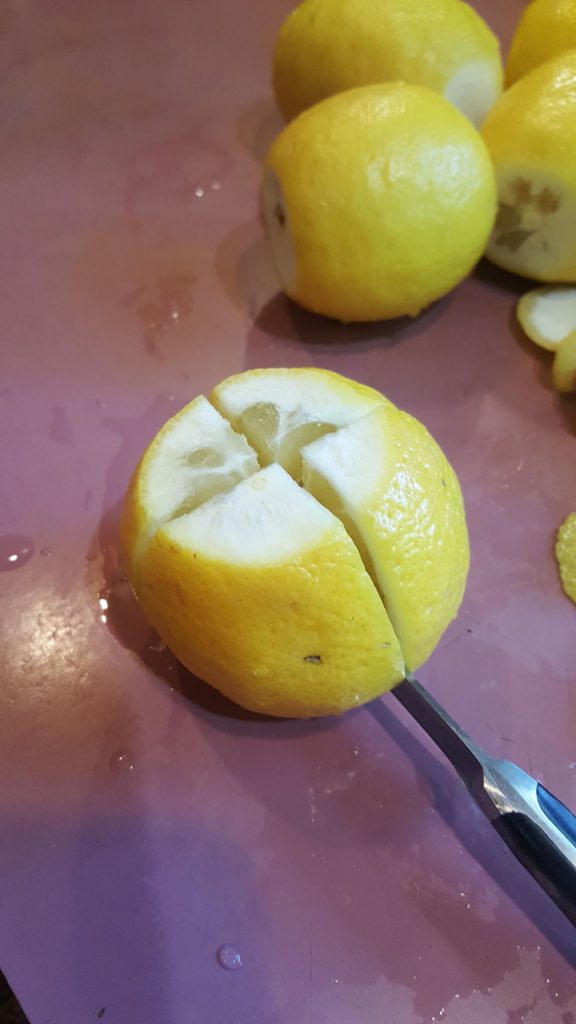
The next step is to carefully quarter each of the lemons without cutting all the way through the bottom rind. Basically, you want to keep the lemons sort of intact.
I’ve since learned that some people slice the lemons horizontally, so that’s also on my list of techniques to try.
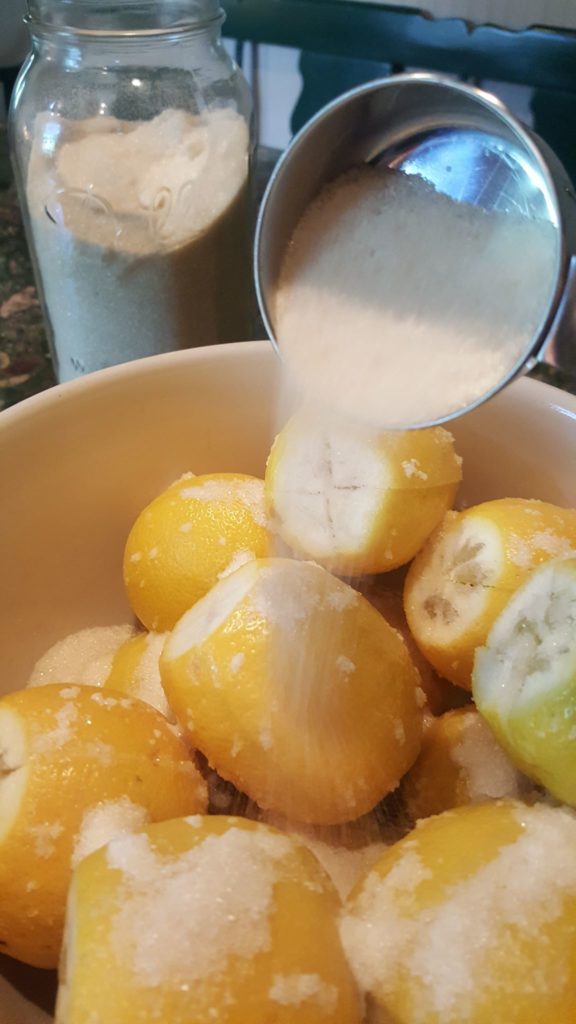
Next, I put all of the lemons into a large mixing bowl, and sprinkled them with 1/2 cup of kosher salt. Kosher salt has larger crystals than sea salt, and so more surface area. It dissolves more slowly, too. I’m thinking that gives the salt more time to draw moisture out of the lemons and soften the rinds.
Then I sprinkled 1/4 cup of raw cane sugar on them. I’ve since learned that most recipes for preserved lemons don’t call for any sugar, but I think it is a great addition! And all of the feedback I’ve gotten so far has shown that other people think it’s a good addition, too.
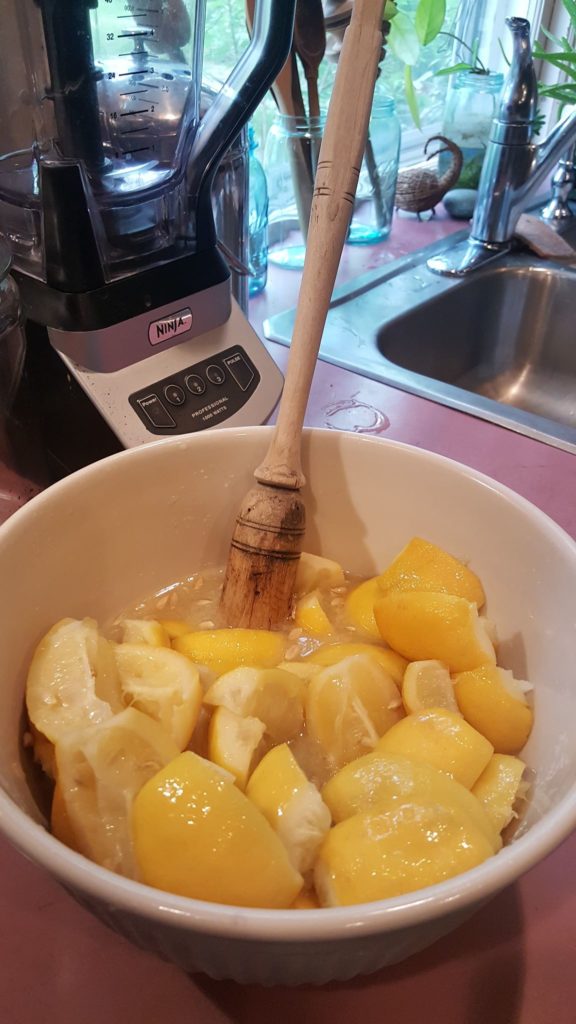
Finally, cover the bowl and put it in the refrigerator overnight, or for 24 hours, whatever works for your schedule. You will be amazed by how much liquid the lemons release!
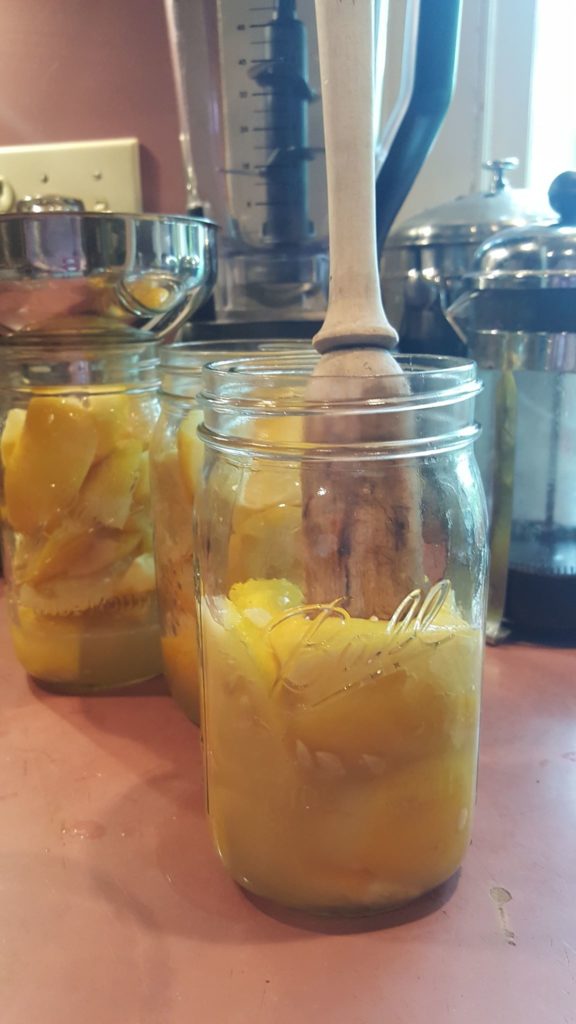
I divided the lemons among three quart-size canning jars, pushed them down with my antique muddler (which is one of my favorite tools). Then I poured that juice that was left in the bowl – more than a cup! – over the lemons. Lids on the jars, and jars in the fridge. The recipe I was “following” says to keep them in the refrigerator and use within 6 months. I waited a couple of weeks before I used any in a recipe. They are wonderful. The rinds become soft, and the sour flavor you expect when you bite into a lemon is gone. Only the delicious brightness is left.
Thanks for this! I’m going to try this today, and I’ll try a couple of variations you mentioned (namely slicing some of the lemons horizontally and to leave the ends on).
I tried this once with just salt, but will try again wtih the sugar. Thank you
I think you will be happy with the subtle difference. They have been my favorite cooking condiment this summer.
Looks great! I tried homemade Lemoncello this year. I only made 1/2 batch but gave very small bottles as Christmas gifts and kept some for myself. I was amazingly simple. Basically. Soak lemon rinds on vodka and simple syrup. The longer you soak, the more lemony.
This is a comment about the Oatmeal recipe but there was no prompt on that page to leave a comment:
Thanks for sharing. Sounds potent. I usually soak my oatmeal overnight. How would that figure into your recipe?
I would add all of the ingredients except the coconut oil and mix well, then soak overnight, add the oil and cook. Let us know how it turns out!